_c1944.jpeg "A U.S. Navy Curtiss SB2C Helldiver passes over the fantail of the aircraft carrier USS Wasp (CV-18). Photograph is part of the Public domain.")
The subject
As the popular SBD Douglas was deemed outdated by the US Navy, it requested the Curtiss company to come up with a new aircraft. As a result the Helldiver was brought to life. Not having the best of beginnings, the aircraft was plagued by problems during the prototype stage. As a result the navy only accepted the aircraft after 880 redesigns and came to life by the end of 1942. Even with all the improvements that the US Navy demanded, it proved to be unpopular with maintenance crews and pilots alike.
The problems that made it unfavorable were a result of all these redesigns, as it had increased the weight of the aircraft by nearly 45%. Therefore it had a shorter range than it predecessor, was underpowered and its electricity system proved to by unreliable due to poor manufacturing. With the introduction of the SB2C-3 variant that changed, as it was upgraded with a new engine and a 4-bladed propellor. It provided so much power that the SB2C-4 could have hard points on the wings to hold additional rockets or 1000lb bombs and even an addition of the APS-4 radar. Thanks to the improvements the Helldiver became a rather loved aircraft by those same airmen that despised it. Yet the damage was done, as the poor quality during manufacturing meant the end of the Curtiss company.
As Air-to-ground rockets started to provide the same accuracy as dive bombing and yet did not ask for certain design requirements and the huge stresses on both the pilot and aircraft, the SB2C came to be the very last dive bomber. Nonetheless, the Helldiver was still used after the war by the French, Portuguese, Greek, Thai and Italian air force until 1959.
This article is partially based on information found at wikipedia, 22nd march 2015.
.jpg "Curtiss SB2C-3 \"Helldiver\" aircraft bank over the aircraft carrier USS Hornet before landing. Photograph is part of the Public domain.")

The kit
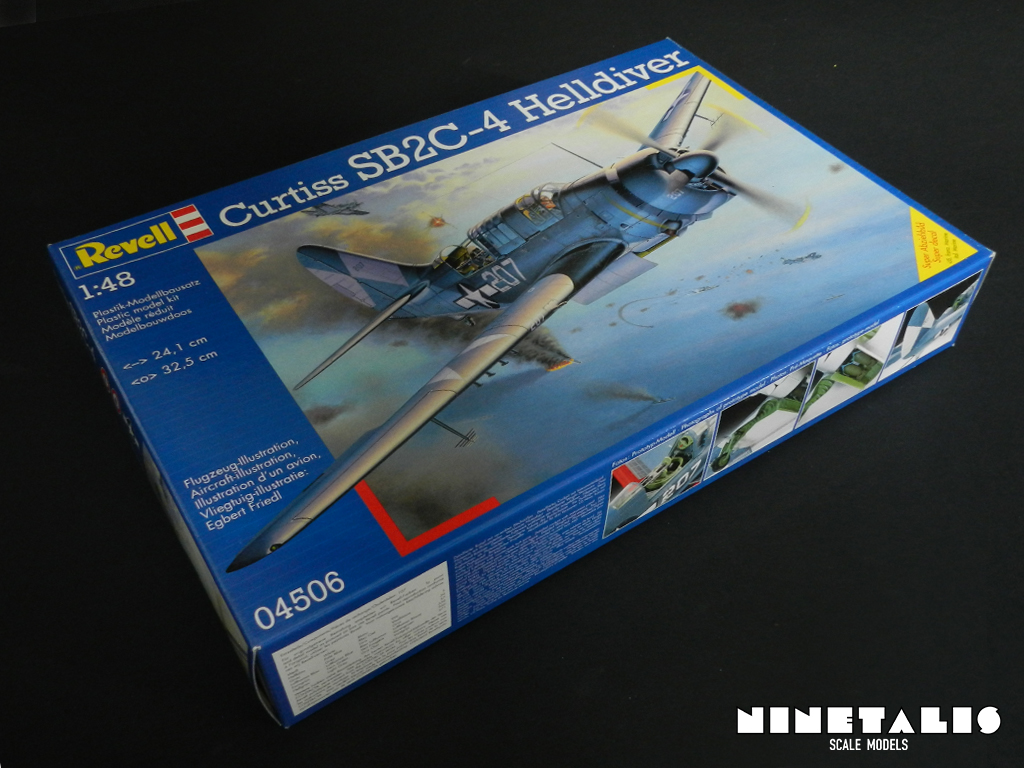
- Subject: Curtiss SB2C-4 Helldiver
- Manufacturer: Revell
- Scale: 1/48
- Contents: Styrene sprues, photo-etch fret
- Serial: 04506
- Price: 30 EUR – 40 USD
- Personal rating: ✭✭✭✭✭ ✭✭✭✭✭


The box and contents
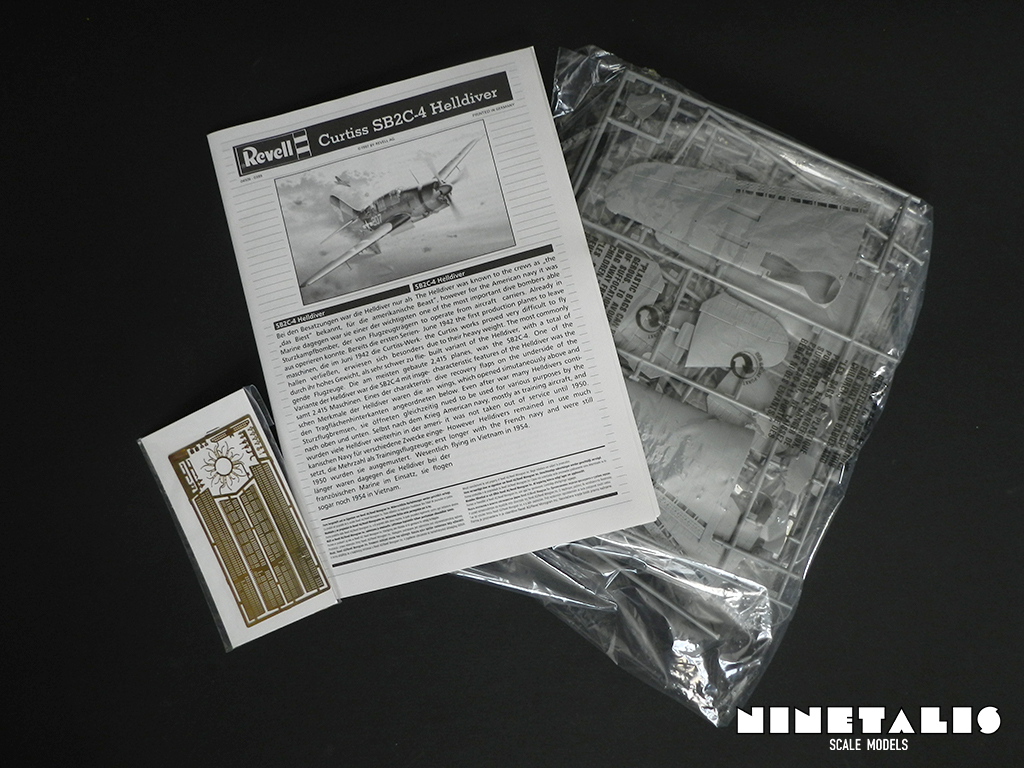
Inside the kit we can find 3 sprues, a clear sprue, a photo-etch fret, an instruction leaflet and a decal sheets. The first thing one might notice is that the two biggest sprues are cut in two smaller pieces. This is probably so Revell can package the contents into a smaller box. All the parts are cut at the frame, so no damage is present on the important parts.
Something that stands out is that Revell did not name their sprues. This might prove a little bit annoying when somebody needs to look for a part, as it could be anywhere on the three sprues. On the other hand, I don’t see this pose a real problem as most of the small parts are placed on one single sprue anyway.
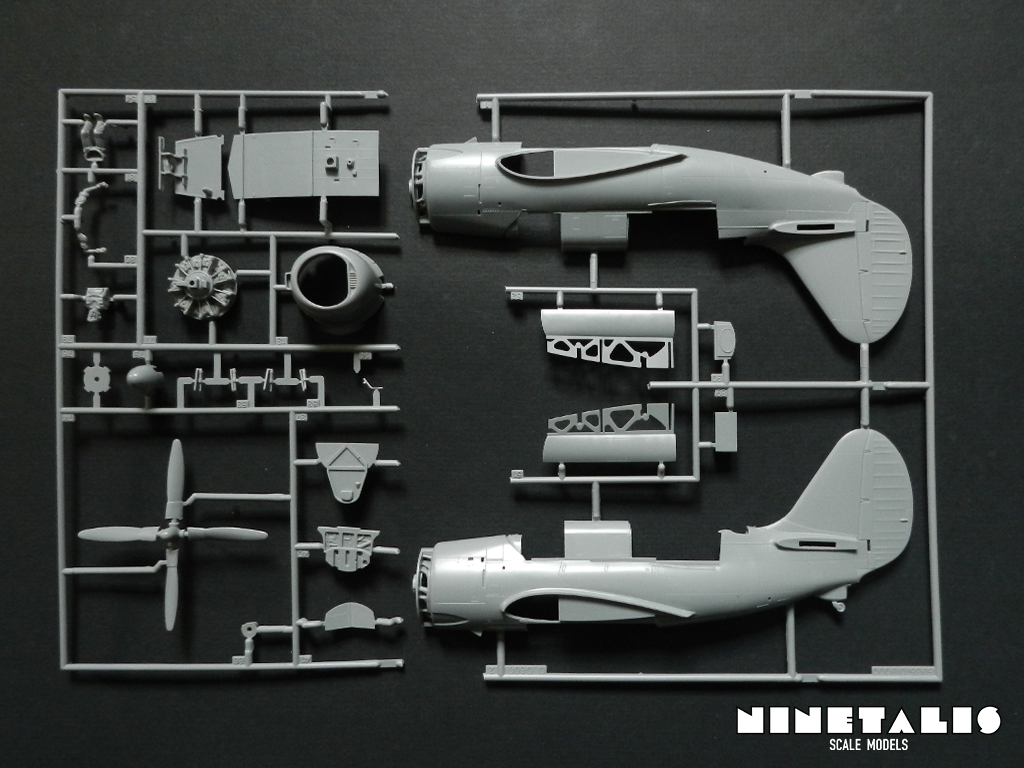

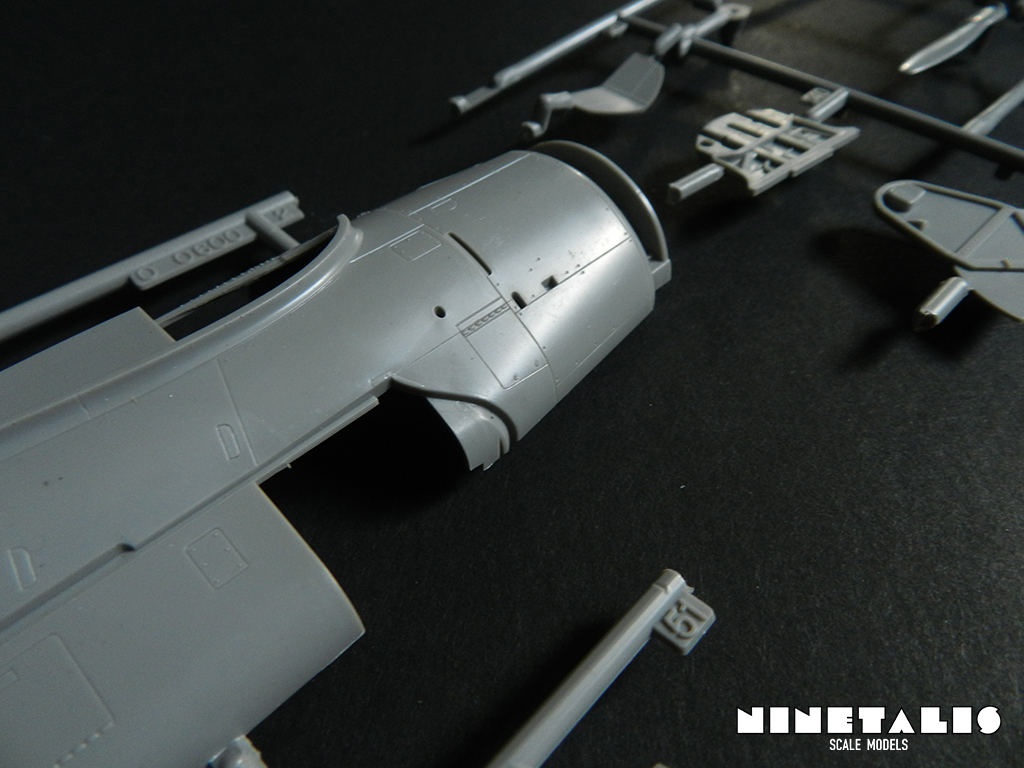

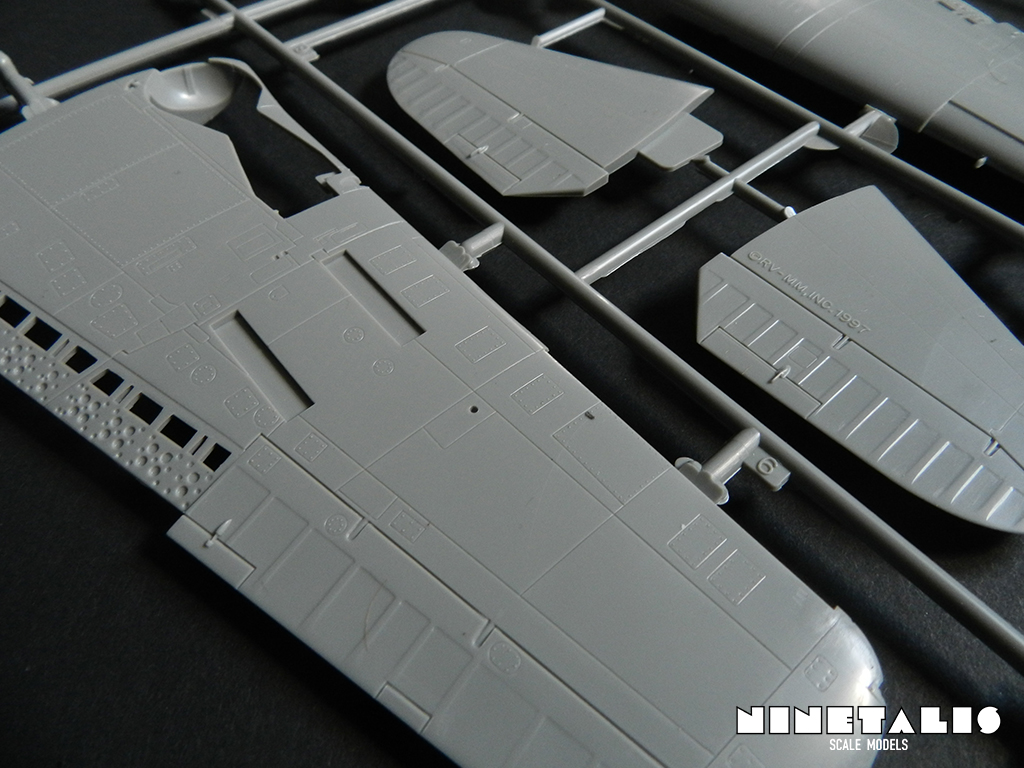
The first sprue
The first sprue holds the two fuselage halves, the engine cowling, the engine, the propellor, the inside of the cockpit, the bomb bay and the bomb bay doors and a few other details. The details on the parts are very fine and no flash can be found on here. The overall shape of the fuselage seems correct with the right panel lines. A nice detail are the rivets on the tail of the aircraft, as the real aircraft had them too. The only thing that bothers me here is that the ‘grille’ in the cowling (which you can see through in real life) is not deep at all. However, It can easily be deepened with a small drill and a steady hand.
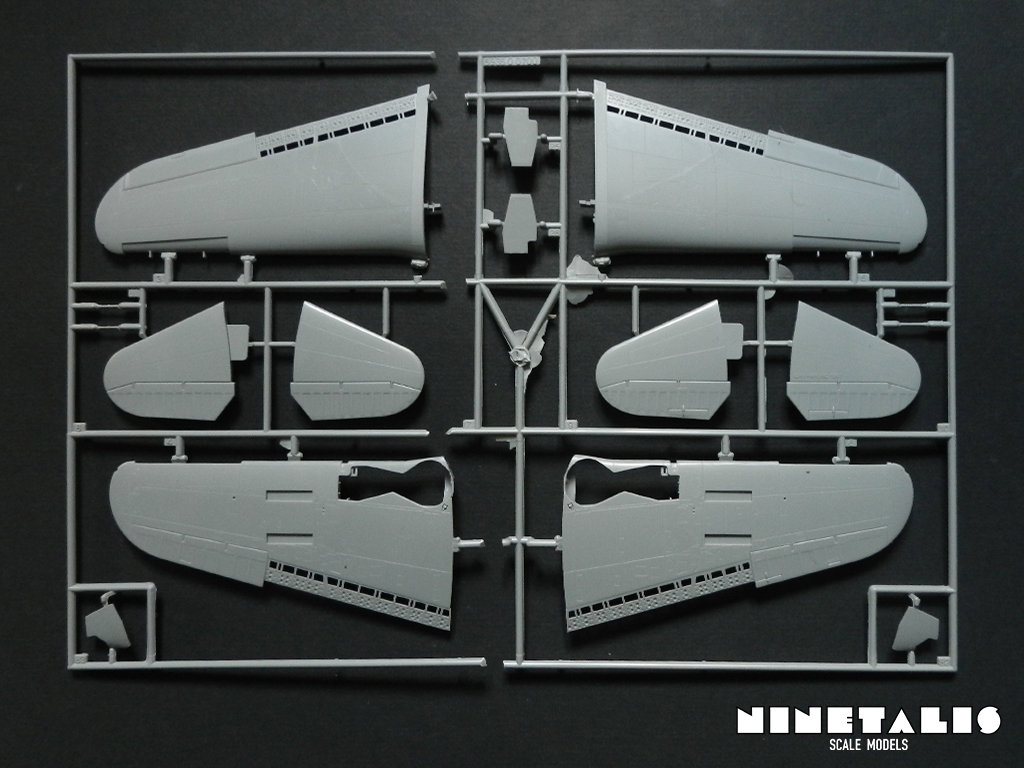
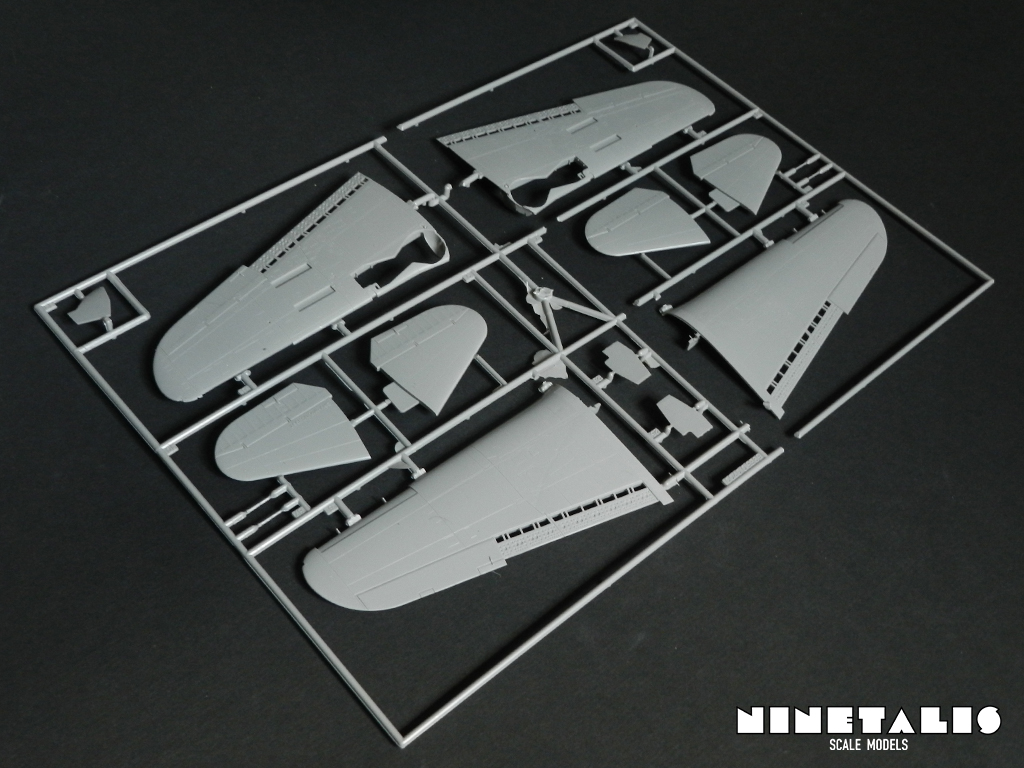
The second sprue
The second sprue holds the wing parts, the elevators and the landing gear covers. The detail is also quite fine, yet some flash is present on non-important places. On each lower side of the wing we can find two recessed horizontal bars. These might look strange at first but are there to house the hard point parts for five unguided rockets.
As this is a more recent kit from Revell/Monogram, it still seems to do some pretty outdated things. I say this because on the lower part of the left elevator, there is an elevated stamp stating ‘RV-MM.INC. 1997’. Now I can understand the company trying to protect its mold from any copies, but it would be nice if they can do this on a place where it isn’t visible on the end product and so not bothering the builder. It isn’t that big of a drama though, as these letters can easily be removed using a sharp scalpel, as I did.

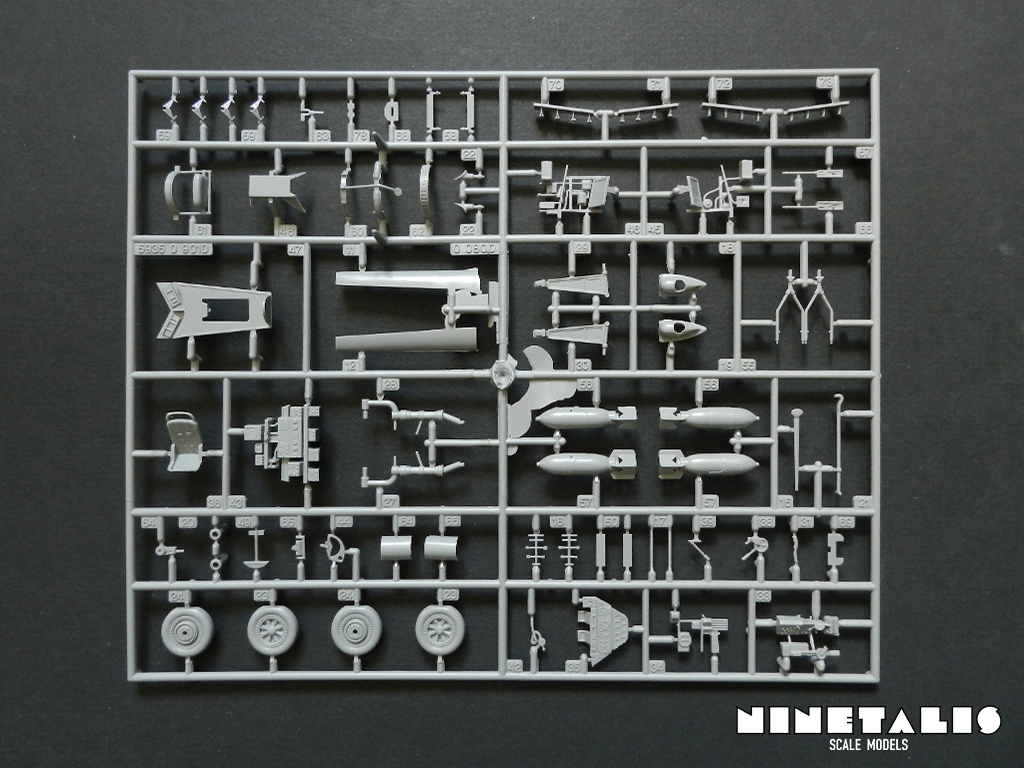
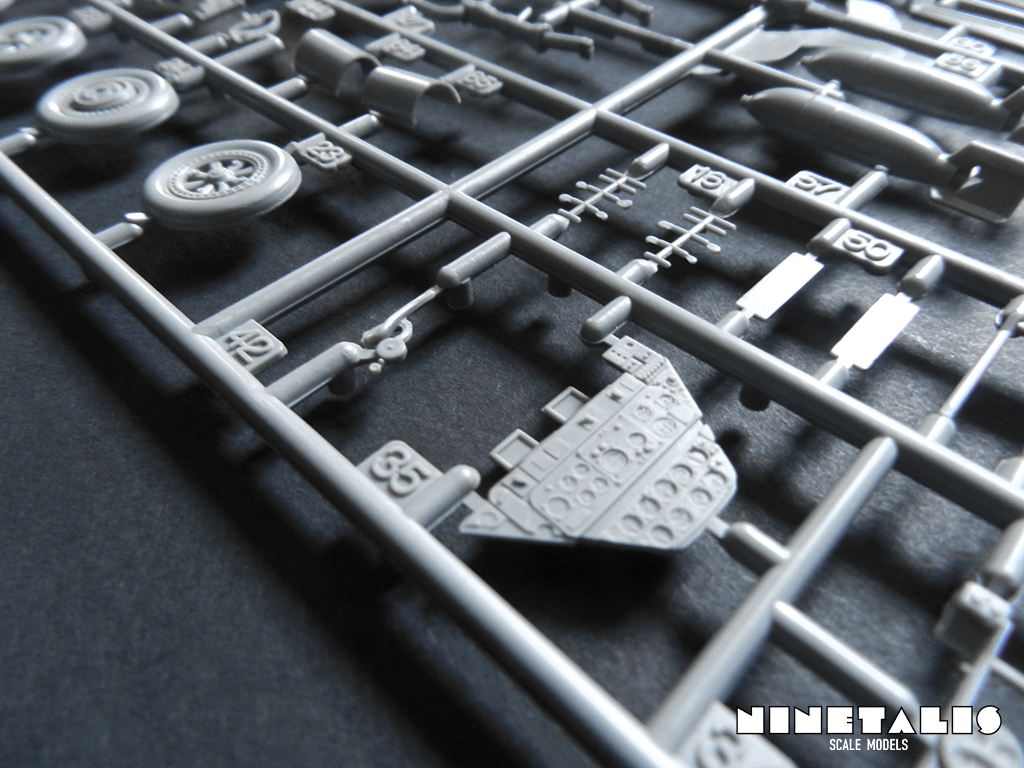

The third sprue
The last styrene sprue holds all the leftover bits from the kit, like the pilot and gunner seats, the radio equipment, the instrument panel, the landing gear, the wheels, the hard points and the bombs. That last one leaves us with a question, ‘why are no rockets included?’. This is a bit sad as it doesn’t exactly seem so hard to add rockets with this sprue, as it isn’t as big as the other two and could easily hold ten rockets. Why Revell hasn’t done this is a misery. But let’s just say that if you really need some rockets from your build, you can easily use some from another kit, like Hasegawa’s F6F Hellcat.
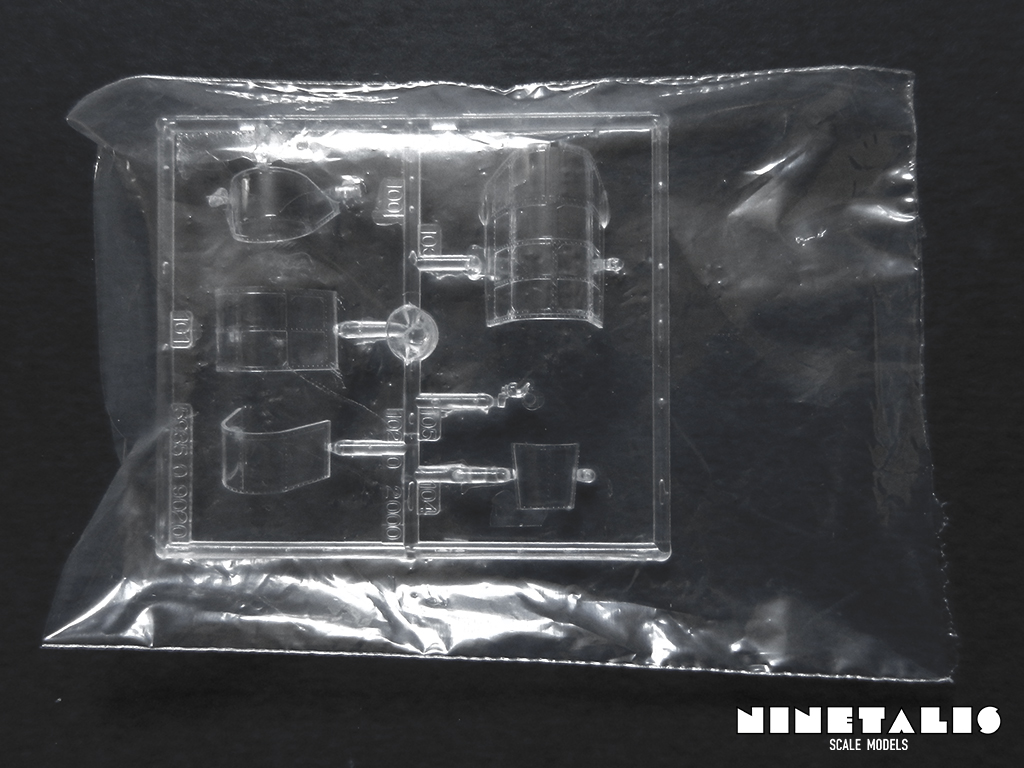

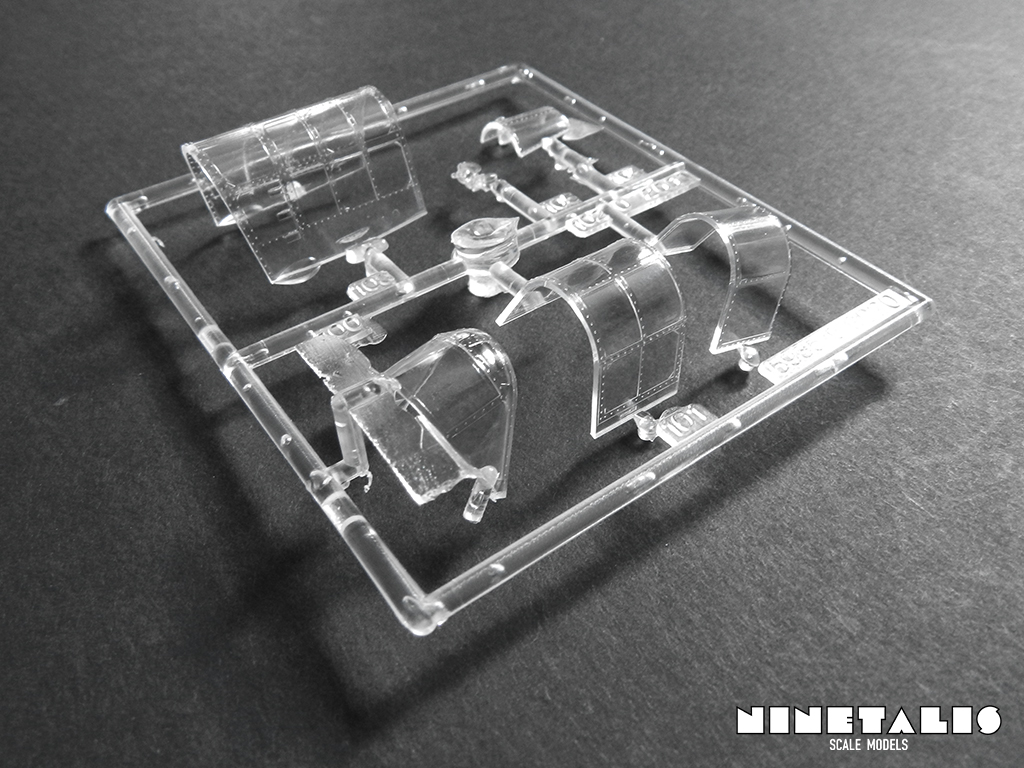
The clear sprue
The clear sprue holds six parts, of which five are canopies. The last part is a navigation light. The parts are nice and no damage or scratches are present in any way. However, some flash can be found on the sprue. The parts also seem to be connected well to the sprue but not that secure that you can easily cause any damage when removing them.
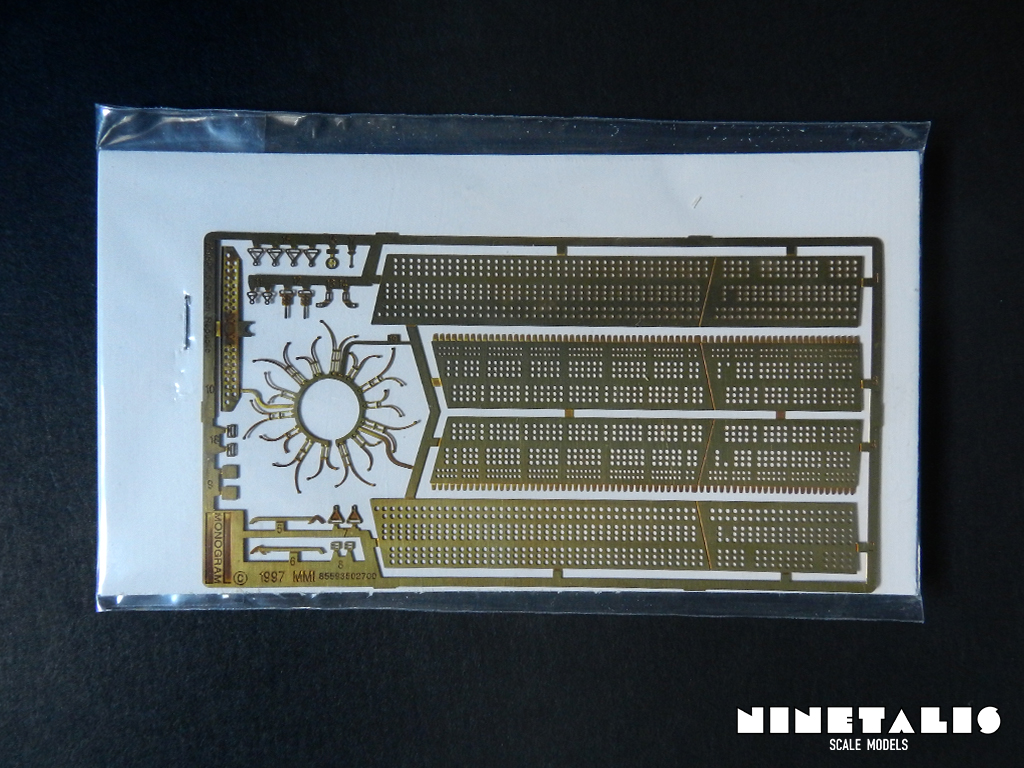
The photo-etch fret
A nice detail with Revell/Monogram kit is that it is accompanied by a photo-etch fret. It would have been awesome if they did this more often. Why they don’t seems like a mystery, but it probably is to keep production costs lower. This fret was most likely made to create the dive flaps in a well represented manner with all the holes that are in them. Revell took the opportunity to add the wiring of the engine and some other fiddly bits like the crosshairs of the 50.cal machine guns.
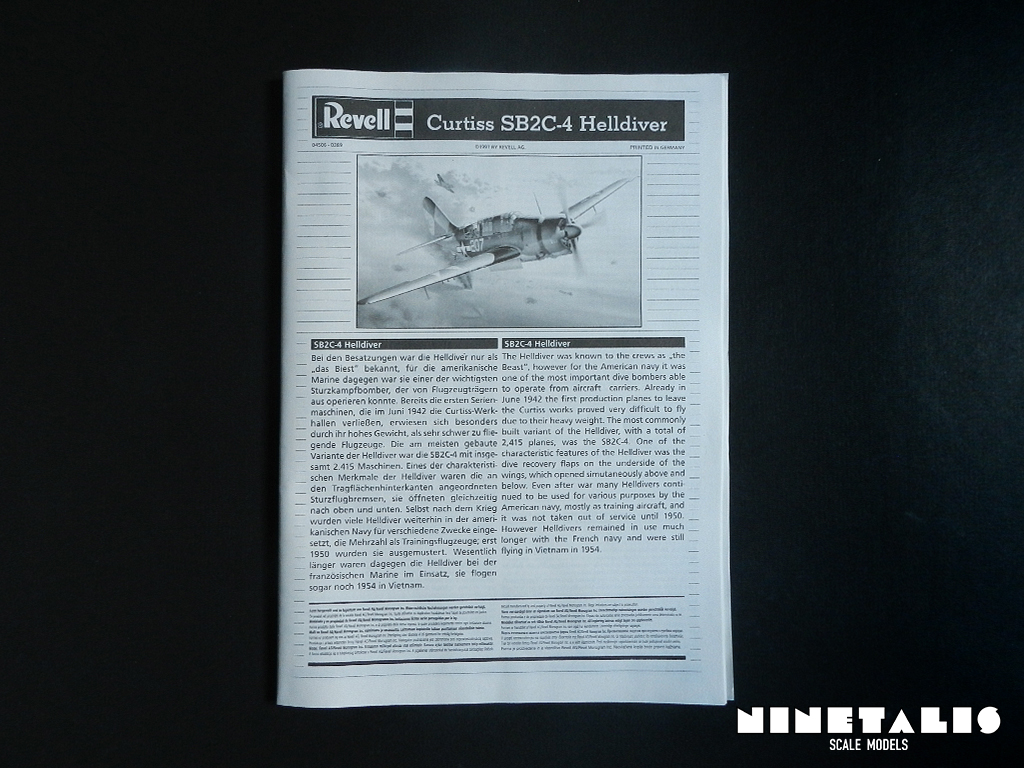
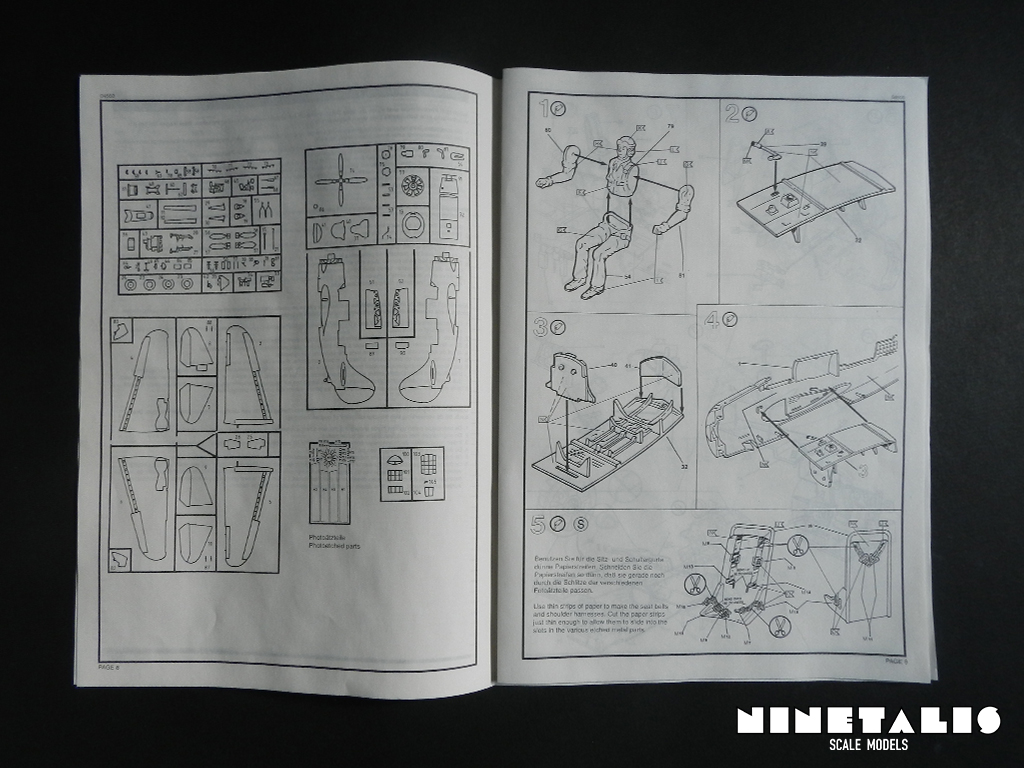
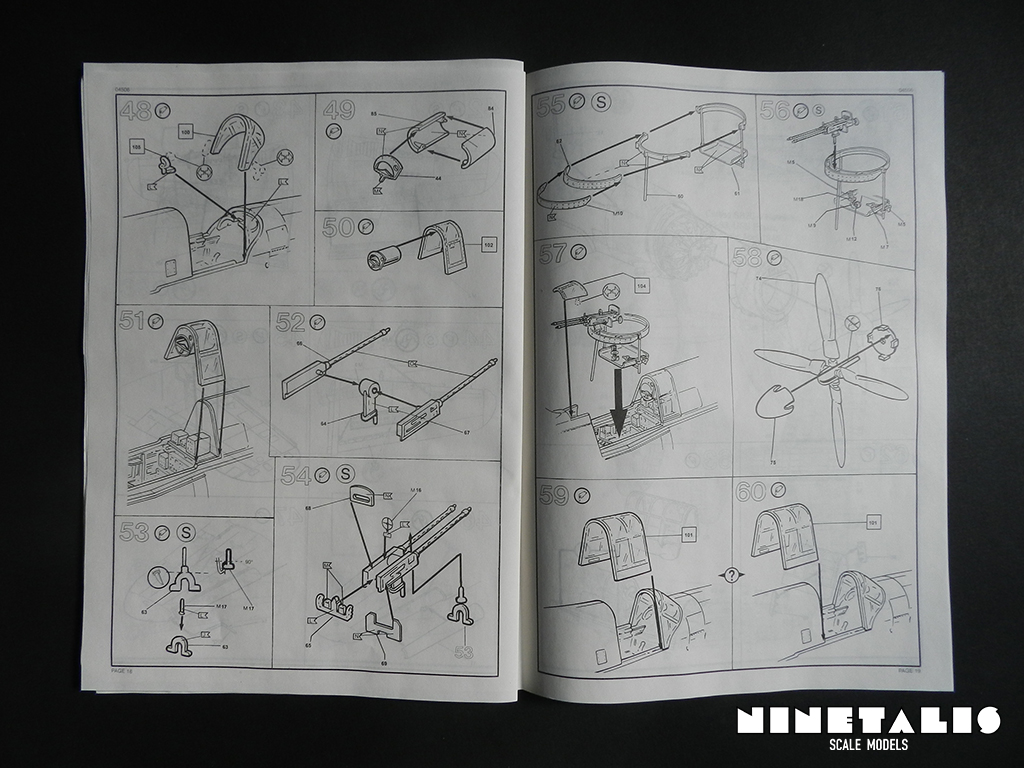
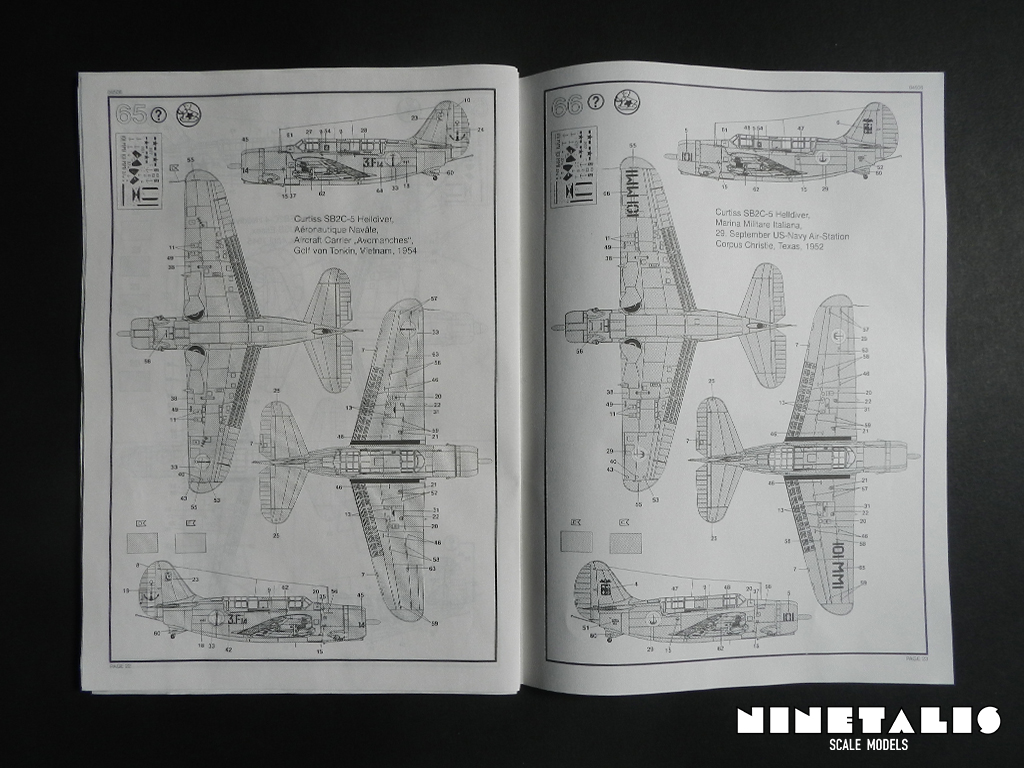
The instruction sheet
The instructions can be found in a booklet that are about the size of an A4 format. The illustrations seem to be clear and I don’t think these will give any real problem. It might be worth mentioning that I have another Pro-Modeler kit in my stash and with those instructions we can find other illustrations than those here. In case that you don’t understand a certain step during the construction process, you can download this other instructions sheet from Revell’s website from their newer kit.
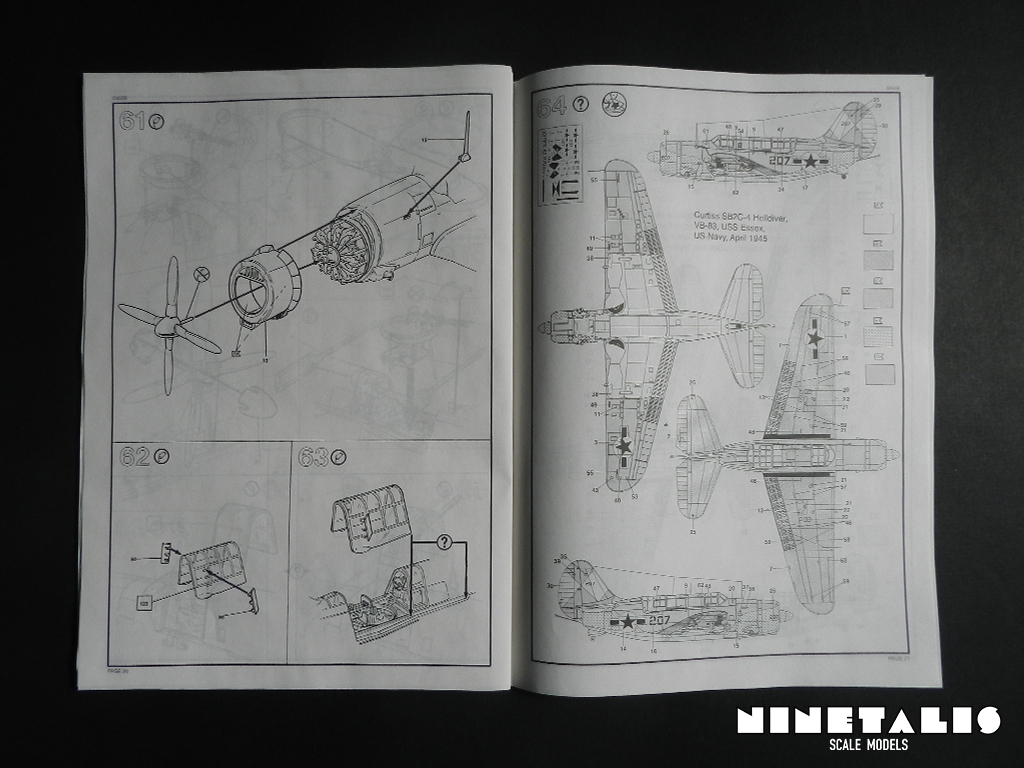
The markings
Here is one of the best things of this kit, the markings. Why? Because so far the only Helldiver kits that were released so far only provide us with US Navy versions. This kit however, does not only provide us with a US Navy aircraft, but also a French and Italian SB2C-5 version.
The US Navy markings are from a war time aircraft, active on the USS Essex as part of VB-83 during april 1945. The French aircraft is from the Aéronautique Navâle (the French Navy Air Fleet) and was based on the French aircraft carrier ‘Avouches’, active at the Golf von Tonkin in Vietnam during 1954. The Italian aircraft from the Marina Militare Italiana (the Italian Navy) was based at the US-Navy Air-Station Corpus Christie in Texas, during 1952.
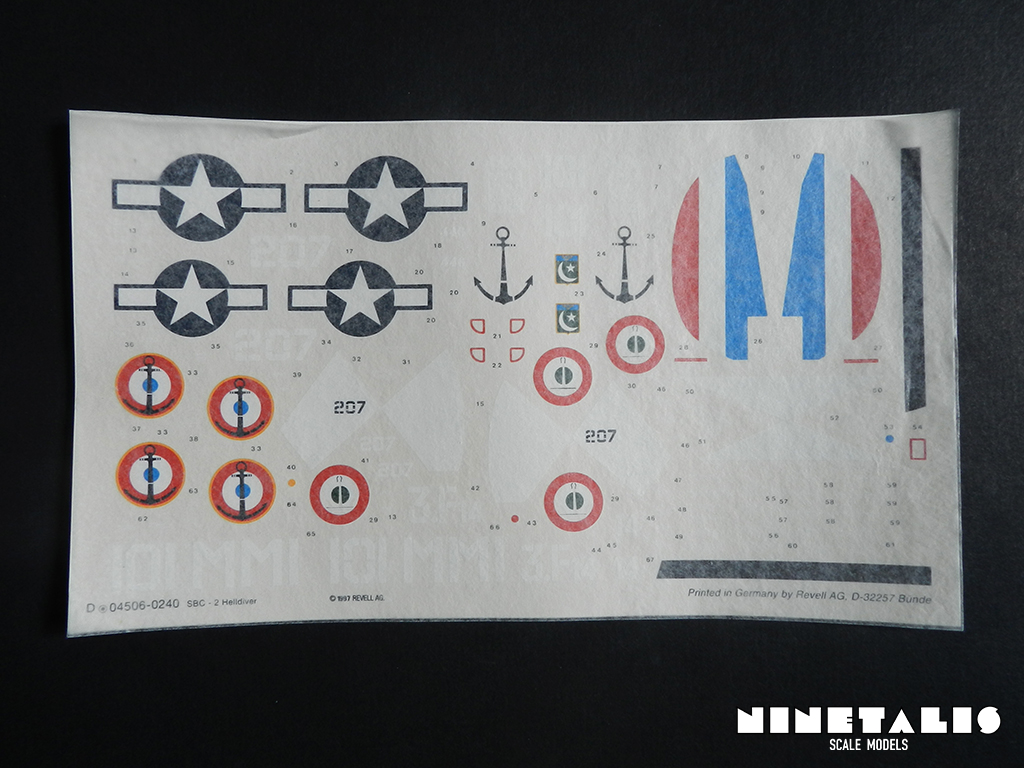
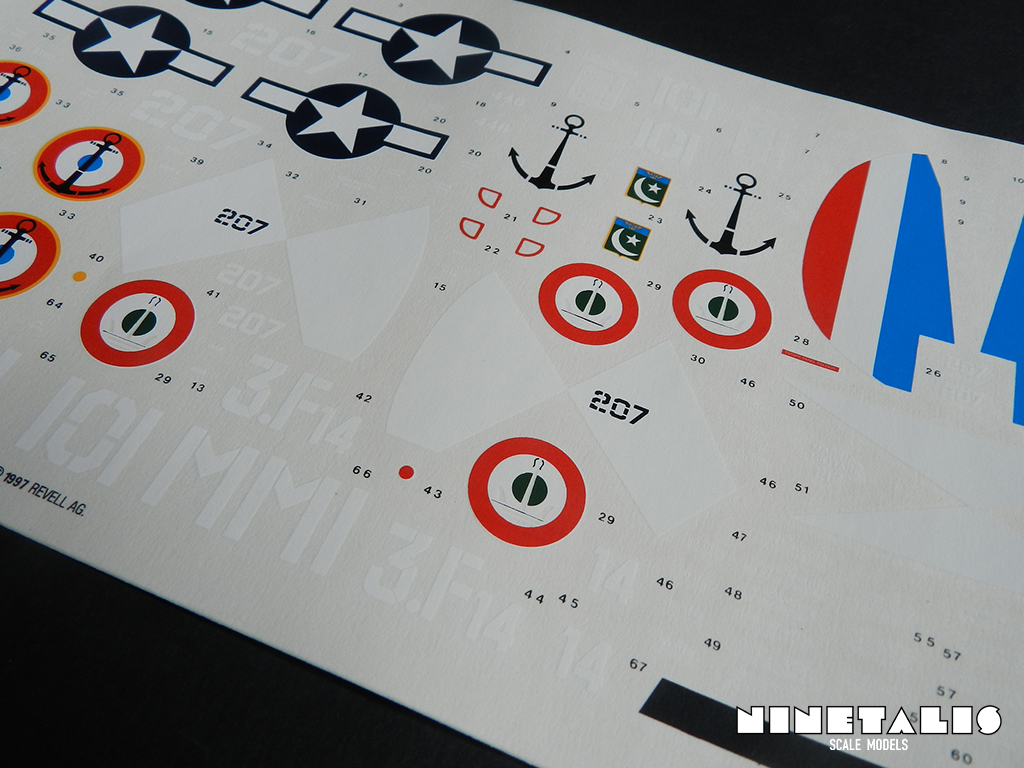
The decals
Now, the markings can be the most awesome you have ever seen, but if the decals aren’t any good, it doesn’t matter how awesome the markings are. Sadly, I fear this is the case with this kit. This kit is from 1997 and the decal sheet hasn’t stood the test of time well. The decals are printed on a classic white backing paper, and not the blue paper were used now and the sides of the paper have curled up. The decals do seem to be okay, but I’m uncertain how well they will still work and might even degrade quite fast once they’re being used. In all honesty, I could be wrong and the decals could work perfectly and as intended, so for this I can’t really say something until I will use them. (when that happens I will update this review)
The conclusion
When Revell released this kit, the world was long overdue for a new quarter scale Helldiver tooling. With this they did a really good job, as it is a really neat kit, since it was even later reboxed by the famous but now sadly defunct Accurate Miniatures. It is great to see that Revell tackles less popular subjects and does it so with care, as a small sheet of photo-etching is included with this kit. Also, for once we are provided with something more than US Navy Helldivers (not that I don’t like them, but it provides us with something more unlike the other kits).
Another great thing here is that the kit can easily be converted to the earlier and later variants of the ‘Big tailed beast’ with just a little amount of work, and therefore it is a great kit to work on with some scratch building. I’ve test fitted some of the parts and so far, most of it fits perfectly. The only downside of the kit seem to be the decals, which are not up to the standards we are used today. However, It is still a great kit of an often neglected subject that should be present in every modeler’s collection who is fan of WWII or naval aircraft.
